![worth logo Dark.png 16-31-37-785 1.png]](https://support.worthscore.com/hs-fs/hubfs/worth%20logo%20Dark.png%2016-31-37-785%201.png?height=40&name=worth%20logo%20Dark.png%2016-31-37-785%201.png)
An application invitation sends the applicant a secure email with a link to start their onboarding application. This article explains how to send an invitation, how long the link stays active, when to resend it, and what to do if an invitation doesn't arrive.
Users with the Admin or Risk Analyst role can send and resend invitations. For custom roles, access depends on your organization's configured permissions. An Admin can review role permissions on the Team page. Read-only users cannot send or resend invitations.
Sending an Invitation
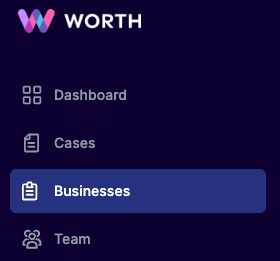
- From the left navigation menu, select the Businesses tab.
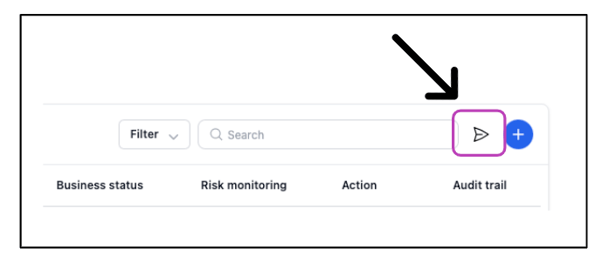
- On the Businesses page, select the Send Invite icon (paper airplane) in the page header.
- On the Send Invitation page, enter the business name, applicant's first and last name, and email address, and select the appropriate Onboarding template, then select Send Invitation. Business contact and applicant mobile numbers are optional. Before reusing an email address, see Businesses That Share an Email Address below.
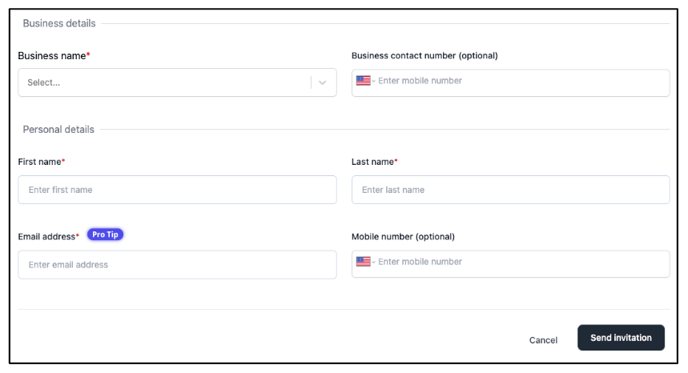
Note: The business appears on the Businesses page immediately, but its onboarding case is not created until the applicant accepts the invitation and starts the application. For an existing business, select View Details, then Send Invitation. You can also use Quick Add. See How Do I Add a Business? for more information.
The applicant receives an email with a button to open their application. Organizations can customize the button text and include a preferred contact email address in the invitation message under Settings > Design & Branding > Onboarding Invite Email. For example: “If you have any questions or need assistance, please reach out to [your support email address].”
How Long an Invitation Link Lasts
Invitation link validity depends on the onboarding sign-in method. Onboarding 2.0 currently supports passwordless sign-in only:
|
Sign-in type |
How it works |
Link is active for |
|---|---|---|
|
Without a password |
The link signs the applicant in directly. They don't create a password. |
30 days from when it was sent |
|
With a password (legacy onboarding) |
The applicant opens the invitation link to finish creating their account. After setup, they sign in with their email and password. |
72 hours from when it was sent |
- When signing in without a password, opening the link doesn't use it up. Applicants can return to the same email and pick up where they left off until the link expires.
- With a password (legacy onboarding), the 72-hour link is only for creating the account. After setup, applicants sign in with their email and password and don't need the invitation link.
- Once the link expires, the applicant sees a message that the invitation has expired. They should contact the business that invited them and ask for a new link. The business can follow the Resending an Invitation steps below.
Resending an Invitation
Use Resend if an invitation has not yet been accepted or its link has expired. Resending sends the applicant a new email with a new link. For passwordless invitations, Resend restarts the full 30-day expiration period from the resend date. Ask the applicant to use the most recent invitation link. If the applicant has already started the application and cannot access it, contact Worth Support.
To resend an existing invitation:
- Open Businesses and select View Details for the business.
- In Invitations, select View Details for the invitation.
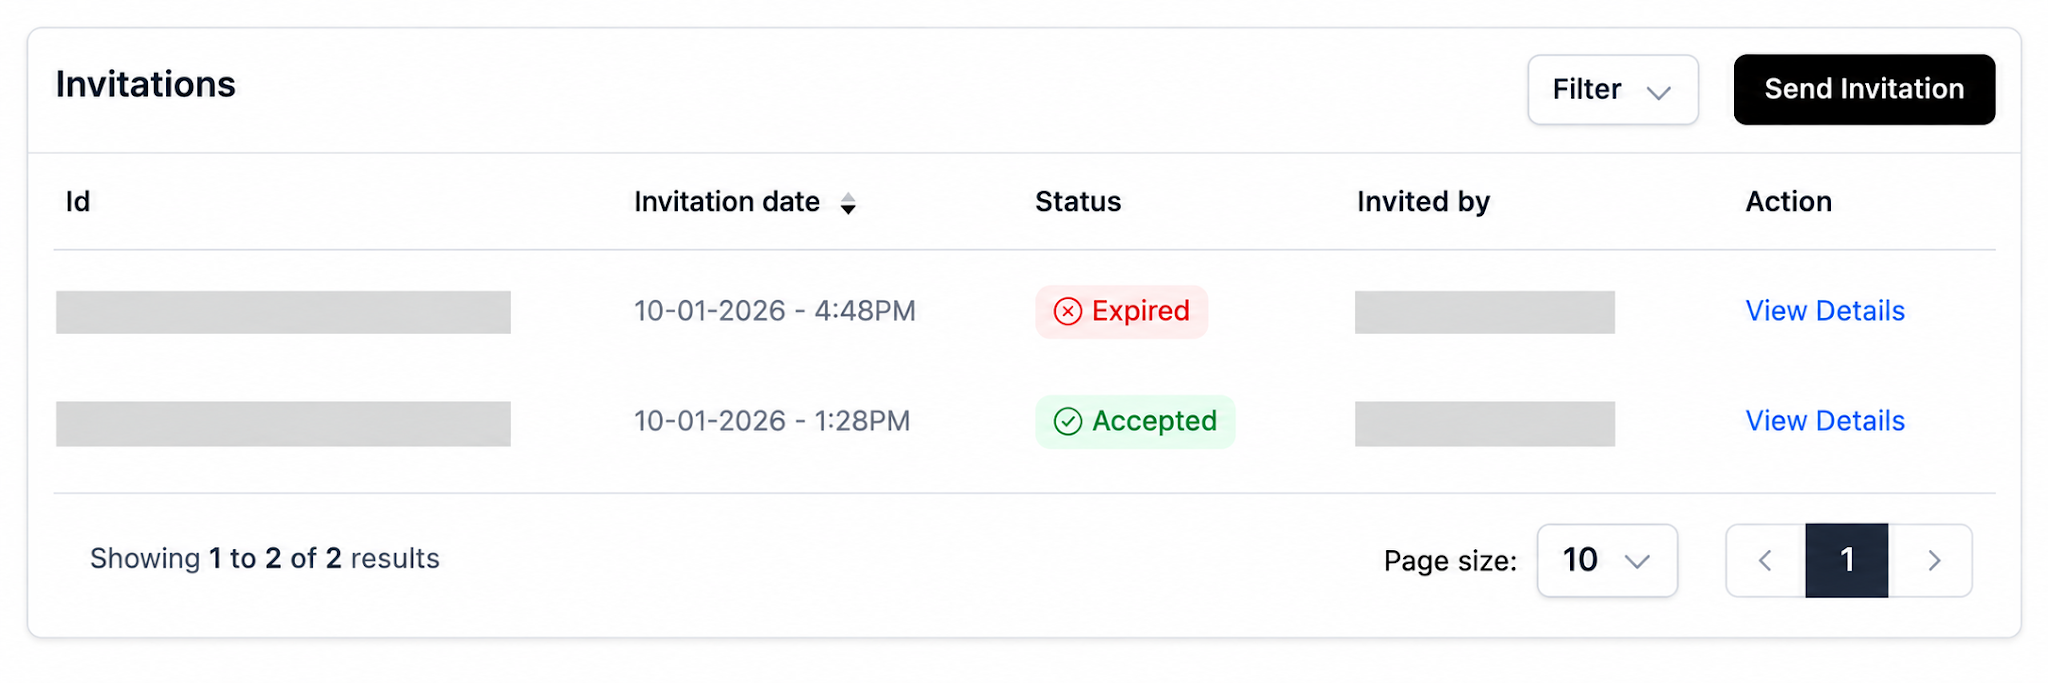
Example: Select View Details beside the expired invitation.
- Select Resend at the top right of the invitation details page.
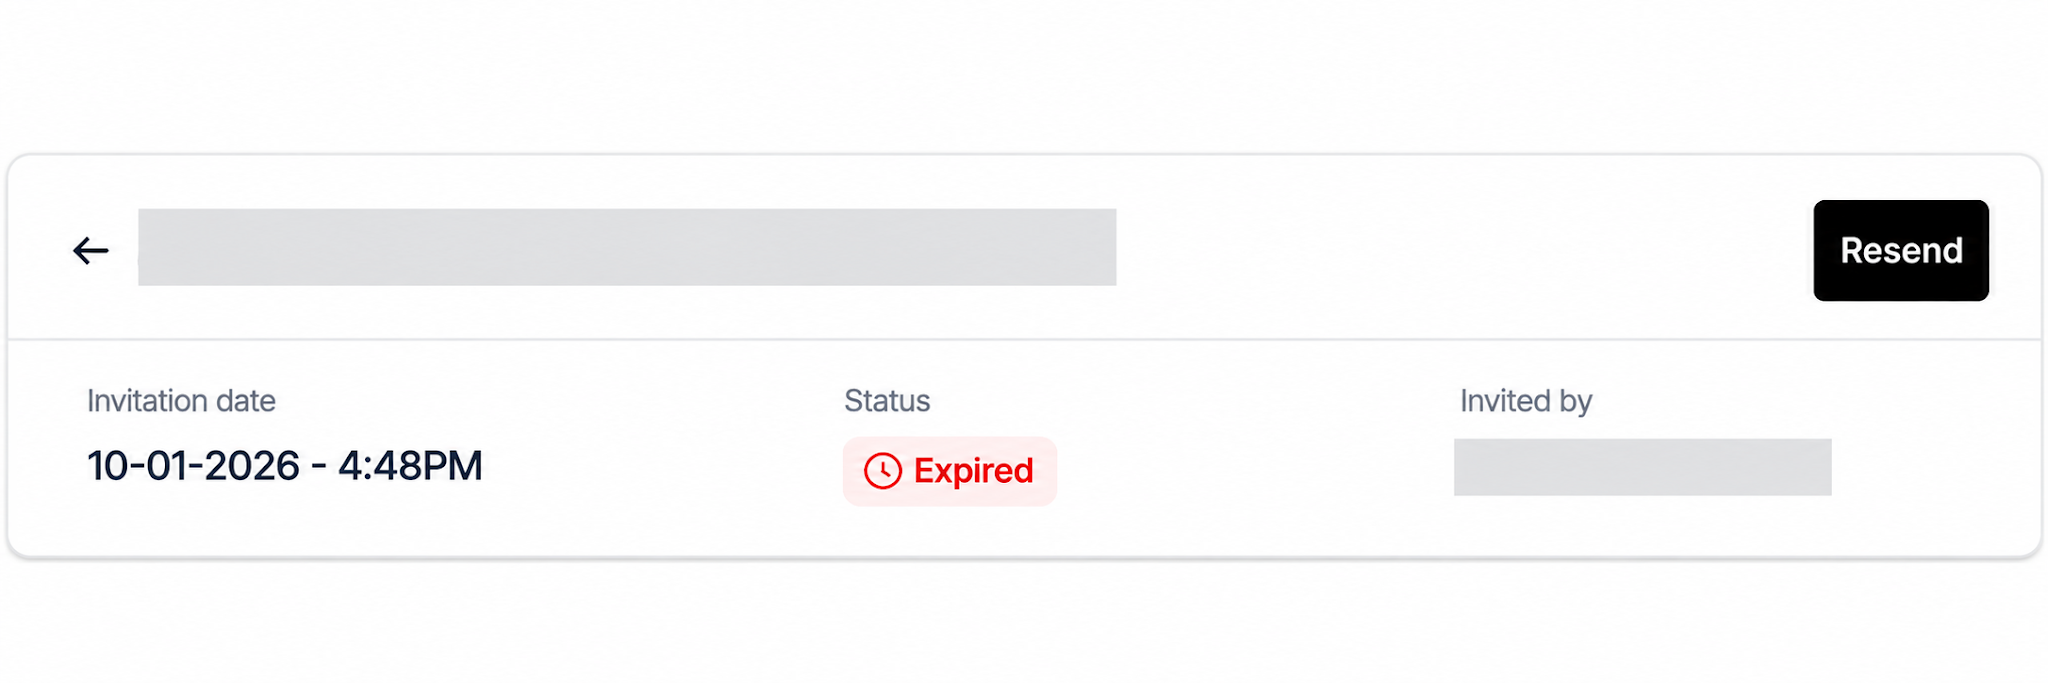
Example: Resend on an expired invitation.
We recommend using Resend rather than creating another invitation for the same business. Sending another invitation for an existing business does not create a duplicate onboarding case, but multiple invitations can cause confusion. Ask the applicant to use the most recent invitation email.
For legacy password-based onboarding, applicants who have already created their account can sign in with their email and password instead. If an applicant still can't get in after a resend, contact Worth Support.
If the Applicant Didn't Receive the Invitation
- Confirm the applicant's email address was entered correctly. An existing invitation's email address cannot be edited. If it is incorrect, use Send Invitation to send a new invitation to the correct email address instead of Resend, which sends to the original address (this is the exception to using Resend).
- Ask the applicant to check their spam, junk, or quarantine folders.
- If the applicant's organization filters incoming email, ask their IT team to allow messages from the invitation sender address. Invitations, resends, and one-time code emails come from no-reply@joinworth.com unless your organization has configured a custom sender email domain with Worth. In that case, they come from your configured sender address. Once Worth has enabled this feature, an Admin can view the sender address under Settings > Advanced > Sender Email Domain.
- If the applicant still can't find the email, use Resend on the existing invitation.
- If none of these steps works, contact Worth Support at support@joinworth.com with the business name and the applicant's email address.
Businesses That Share an Email Address
Whether an email address can be reused depends on how applicants sign in.
- Without a password: Use a different email address for each business. Reusing an address can cause invitation or sign-in errors, even after a previous application is complete. If the applicant cannot access the new application, contact Worth Support.
- With a password (legacy onboarding): Onboarding 2.0 does not support password-based sign-in. For legacy workflows, contact Worth Support for guidance on using the same email across multiple businesses.
For another application for the same business after a completed application, contact Worth Support for guidance.
Related Articles