![worth logo Dark.png 16-31-37-785 1.png]](https://support.worthscore.com/hs-fs/hubfs/worth%20logo%20Dark.png%2016-31-37-785%201.png?height=40&name=worth%20logo%20Dark.png%2016-31-37-785%201.png)
Introduction
Custom Roles allow for defining specific permission levels for team members, providing granular control over what each user can access and manage within the platform. Whether the goal is a role with limited view-only access or full administrative control, this guide walks through how to create and configure a Custom Role from start to finish.
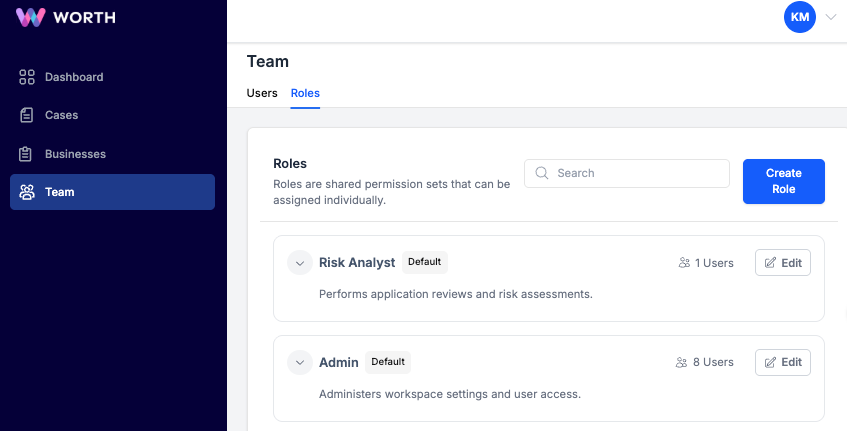
- Click on the "Team" tab in the top-left corner.
- Click the "Roles" option.
- Select the blue "Create Role" button.
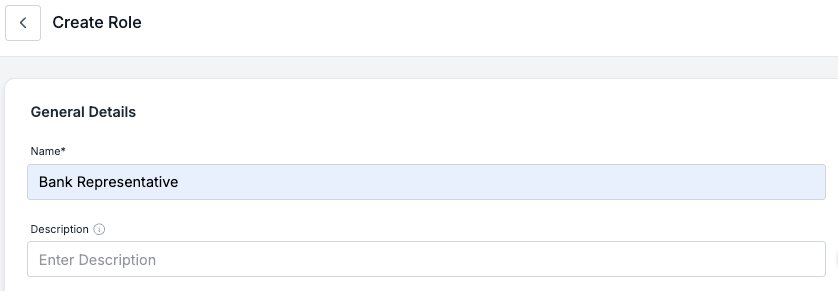
Under the General Details section, name the role in the "Name" field. The "Description" field is optional, but can be used to summarize what the role entails.
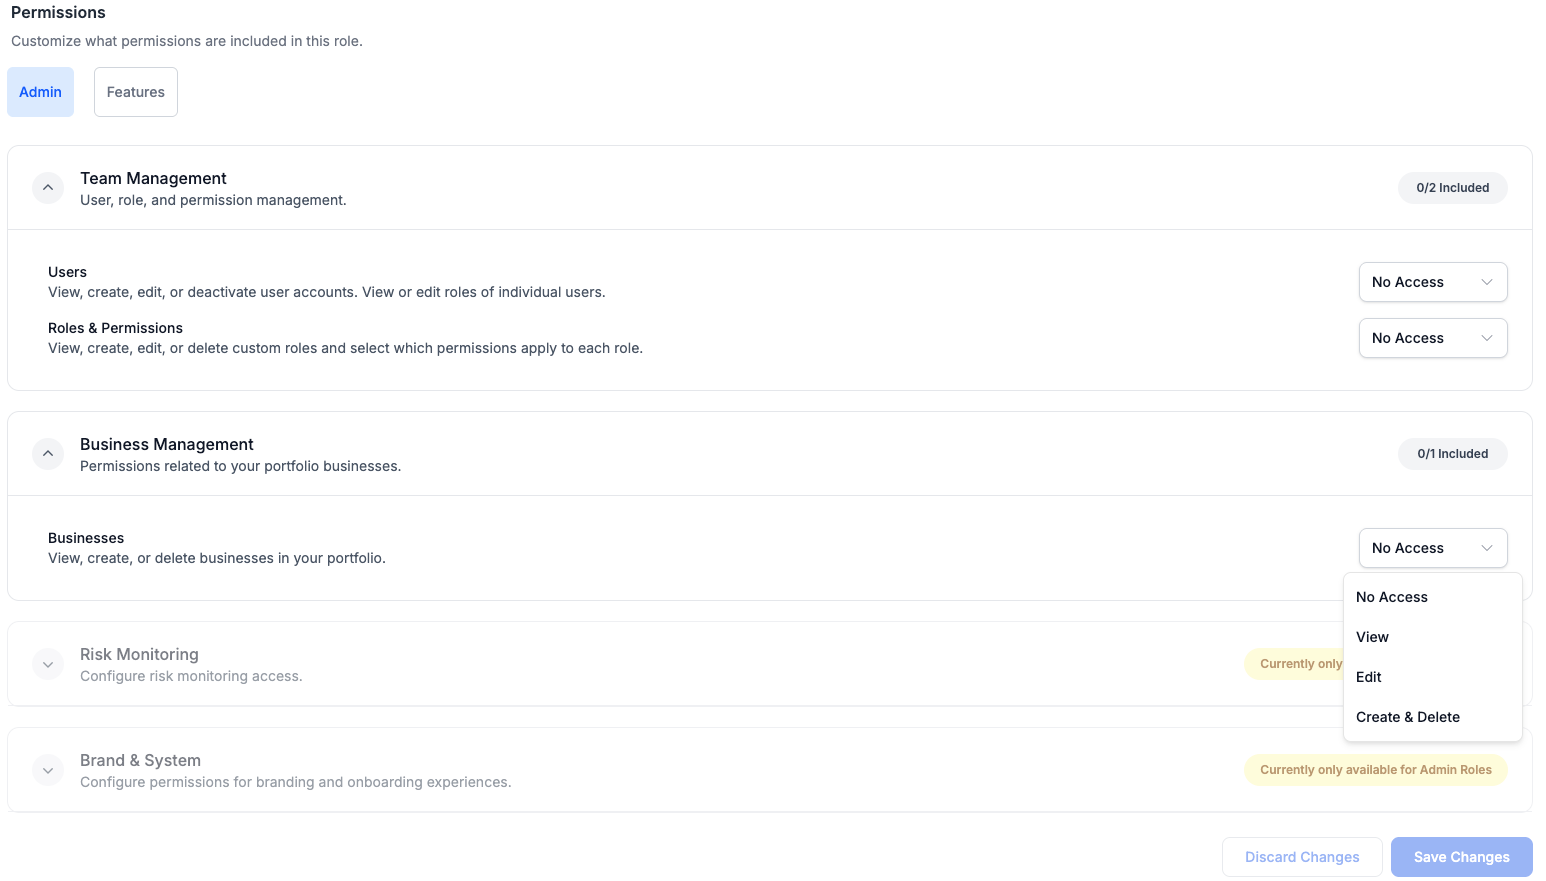
In the "Permissions" section, there are 2 options: Admin and Features. The Admin permissions have dropdown menus with the following access level options for Users, Roles & Permissions, and Business:
- No Access
- View
- Edit
- Create & Delete
Once complete, select the blue “Save Changes” button.